In TestComplete, functional tests can be created in the form of keyword tests and scripts. Tests of both kinds can be recorded or created from scratch with built-in editors. Creating keyword tests is visual, easy and does not require a programming background. Scripting requires understanding script commands, but gives you the ability to create more powerful and flexible tests. TestComplete supports scripting in VBScript, JScript, DelphiScript, C++Script and C#Script, so you can create scripts in the language you know best.
TestComplete operates with test projects and project suites. A project is a starting point for creating tests. It contains your tests, baseline data for checkpoints, information about tested applications and other items needed to perform testing.
Related projects can be united into a project suite that contains one or more projects. TestComplete automatically generates a project suite when you create a new project. You can also create empty project suites and then use TestComplete’s dialogs to fill the suite with the desired project files.
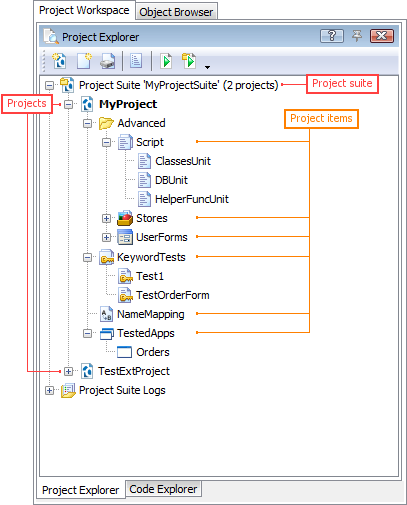
You can view and manage projects, project suites and project items in TestComplete’s Project Explorer panel:
Here is a sample image of TestComplete’s main window :
The Object Browser window shows the list of all processes and windows that exist on the machine. For each process and window it shows methods and properties accessible externally through TestComplete facilities. In other words, the Object Browser tells you which objects, methods and properties are available for testing, and how to get to them.
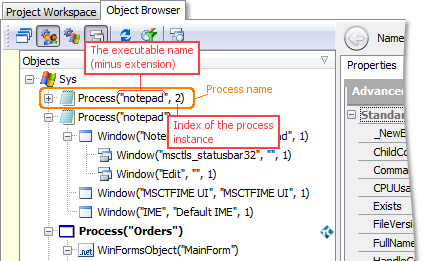
TestComplete uses a tree-like model for test objects. For desktop and web applications, the root node of the tree is Sys.
Processes objects correspond to applications running in the operating system. A process object’s name includes the name of the process executable and its index (the index is used only if several application instances are running)
1. Creating a Test Project:
Select File | New | New Project from TestComplete’s main menu. This will call up the Create New Project wizard:
You can also specify the project suite name and its actual location by clicking the More button and filling in the corresponding edit fields.
After you specify the project name and location, click Next to continue.
2. Selecting a Test Type
After you specify the project name and location on the first page of the wizard, the wizard shows the second page where you can choose the type of your tested application:
3. Completing the Project Creation
After you have specified the type of your tested application, the wizard displays the page where you can enable or disable TestComplete’s Test Visualizer functionality:

On the next page of the wizard, you can choose the scripting language to be used in your project.
The scripting language is also important because it defines the format of object names with which your tests will work, regardless of whether you are using scripts or keyword tests. The name format depends on the language syntax. For instance, in VBScript, JScript and Python the name of the Internet Explorer process looks like Browser(“iexplore”). In DelphiScript you should replace double quotes with single quotes, that is, Browser(‘iexplore’); and in C++Script and C#Script, the word Process should be enclosed in brackets: [“Browser”](“iexplore”).
After clicking on Finish, TestComplete will create a new project, .mds, and a project suite for it. It will then display the project suite’s and the project’s contents in the Project Explorer panel.
4. Creating Tests in TestComplete
TestComplete provides two approaches to creating tests. You can:
-
Create tests manually
Record tests
5. Recording Tests in TestComplete
You start recording by selecting Test | Record | Record Keyword Test or Test | Record | Record Script from TestComplete’s main menu or from the Test Engine toolbar. You can also start recording by clicking Record a New Test on the Start Page.
After you command TestComplete to start the recording, it will switch to the recording mode and display the Recording toolbar on screen:
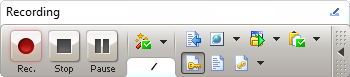
After you start recording, perform the desired test actions: launch the desired browser and load a page to it (if needed), then click some command buttons on the page, select menu items, type some text and so on.
After all the test actions are over, stop the recording by selecting Stop from the Recording toolbar.
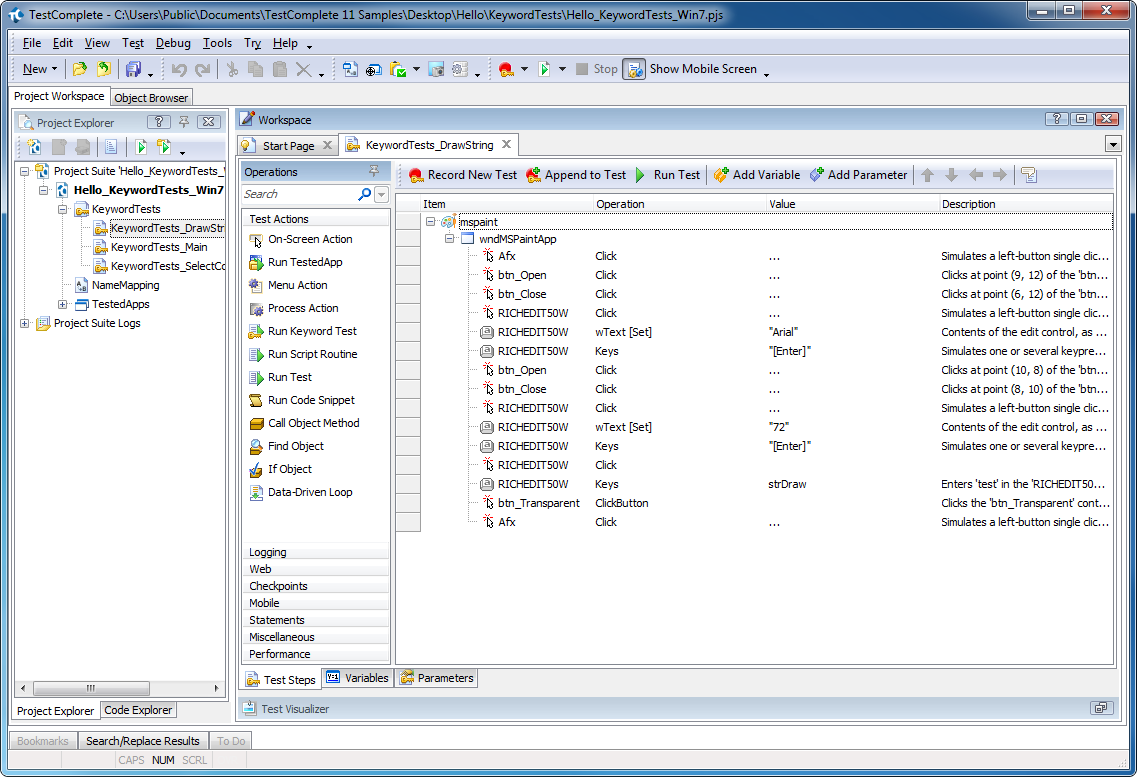
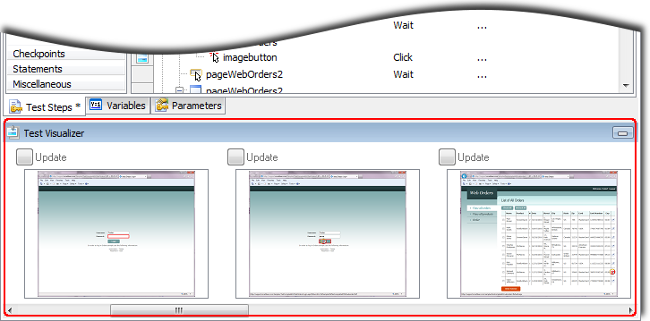
After you have finished recording, TestComplete opens the recorded keyword test for editing and displays the test’s contents in the Keyword Test editor:
Below the commands there is the Test Visualizer panel that displays images which TestComplete captured for operations during test recording:
6. Running the Recorded Test
To run the recorded test, simply click Run Test on the test editor’s toolbar.
During test execution, TestComplete displays an indicator in the top right corner of the screen:

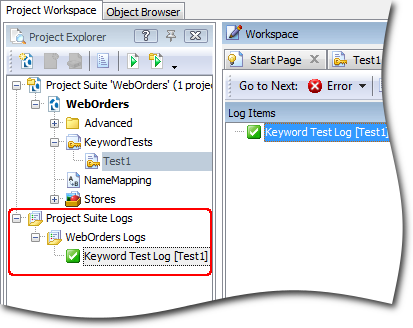
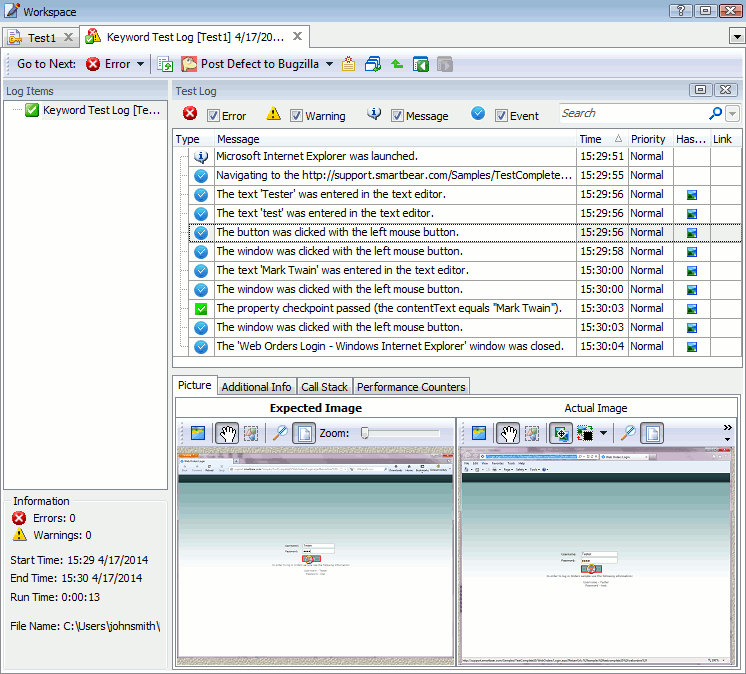
7. Analyzing Test Results
TestComplete keeps a complete log of all operations performed during testing. The links to test results are shown in the Project Explorer panel under the Project Suite Logs | WebOrders Log node